Introduction: Replacing your yoyo pads as needed helps maintain your yoyo’s performance and prolong its lifespan. The following simple guidelines will tell you exactly how to recognize the signs that it’s time to replace your silicone yoyo pads and the steps to do so effectively.
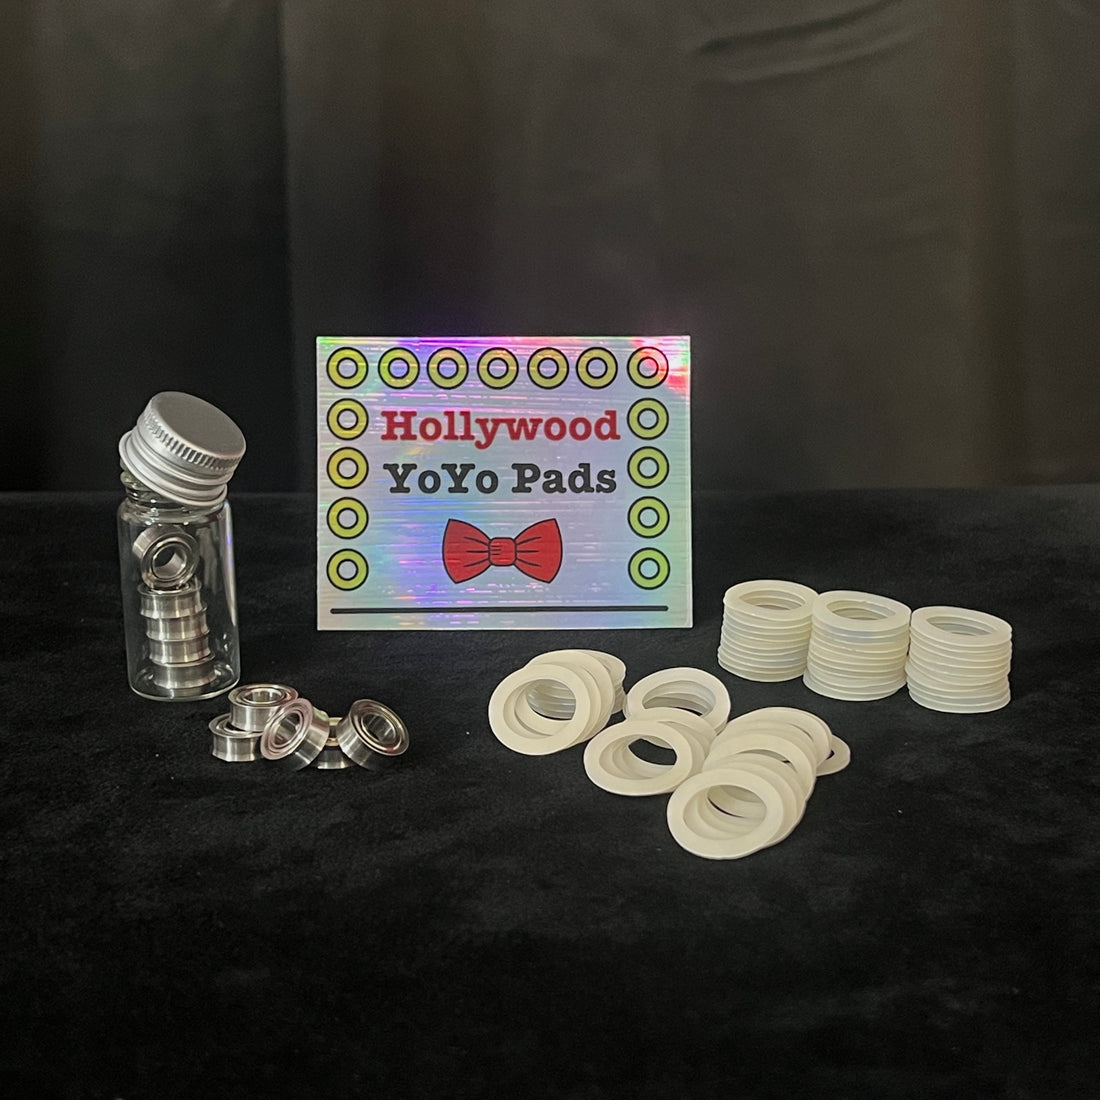
Most yoyos use standard 19mm slim pads which we sell in multiple hardness options here.
How Often
6 months is about when a regularly used set of pads starts to need replacing, but this timeline really depends on how often and with what intensity a yoyo is used.
Definitions
- Pad Well: The groove that the pad sits within.
Recognizing the Signs:
- Warped Pads: If the pads feel uneven or bumpy, it can be a sign that the pad is no longer adhered to your yoyo properly.
- Vibration: Unusual vibrations or a "vibe" during play often indicate uneven pad surfaces.
- Responsiveness Issues: If binds aren't feeling "tight" and instead feel "slippy" or the yoyo becomes unresponsive, it may suggest the pads are worn out or old and need replacing.
- Visible Wear: Grooved, compressed, or discolored pads are clear indicators for replacement.
- Adhesive Failure: Pads that start peeling off or don't stick well need to be replaced.
- Cracking Pads: Old pads that lose elasticity and begin to crack also require changing.
Materials Needed To Change Pads:
- Pin ("Map Pins" are the BEST, and can be used for de-sheilding bearings)
- Q-tip or Cotton Swab
- Solvent (Isopropyl alcohol, or acetone)
- New Yoyo Pads
Click here to buy quality yoyo response pads now!
Step-by-Step Guide To Pad Replacement:
- Remove Old Pads: Carefully remove the old pads using a Push Pin or Map Pin. If you scratch the body of your yoyo, don't worry, it won't impact the function of the yoyo at all and can actually help increase the adhesive strength of the pad to the body of your yoyo.
- Clean the Pad Area: Dip a Q-tip or cotton swab in a solvent such as isopropyl alcohol, or acetone (with adult supervision). Thoroughly clean the pad recess to remove any old adhesive and debris. Ensure all residues are completely removed for a clean surface. Take this opportunity to also clean the bearing area of old, dirty oil. Note, when maintaining plastic yoyos, NEVER let acetone touch the yoyo body directly. Isopropyl Alcohol or Goo Gone are safe for plastic yoyos.
- Dry the Area: Thoroughly dry the pad recess with a dry Q-tip.
- Install New Pads: Align and firmly press the new pads into the recess. Depending on the yoyo, this may be easier or harder. Some yoyos require the pad to stretch a little bit during install. In general, you can install the pad by pressing it into the pad well, and then holding the pad down with your finger as you rotate the yoyo. This will force the pad into the pad well evenly.
- Flattening The Pad: If the pad doesn't go in flat the first time, try pressing the flat surface of your finger nail onto the face of the pad, bracing the tip of your nail against the inner wall of the pad well (your finger will be nail down, pointed towards the bearing). Press the pad down with your nail and then rotate the yoyo so that you can press the pads down flat all the way around.
- Check Alignment: Ensure the pads are evenly installed without ripples or edges sticking out of the pad well.
- Test The Pads: After installing new pads, you can test for a proper fit by installing a string and then throwing the yoyo. Gently rock the yoyo in a pendulum motion in a way that makes the string come in contact with the pads. If the string vibrates when it touches the pad, that likely means that the pad wasn't installed completely flat. Correct this by repeating step 5.
Breaking in New Pads
New pads tend to have a short break-in period which allows the silicone to soften up. During this time, the pad will often start to feel more responsive, binds will get more "snappy" and the grip of the pads on the string will become tighter. Pads can take a few days to fully break in, but a lot of the breaking in happens in the first hour of use. To speed along the process, you can do tricks that force contact between the pad and the sting. Some tricks that can help break in your pads are:
- A double or triple on trapeze. Do a trapeze, then go over your finger again (double on) and again (tripple on). This creates multiple wraps of string around the pad.
- Bind combos. Perform multiple binds, one after another. This will work the silicone in the pad and soften it up quickly.
- Horizontal pinwheels. Throw a horizantal sleeper, then let the yoyo rotate around, below your hand. This trick forces constant contact between the string and the pad which can help to wear in the top surface and create a grippy finish on the face of the pad. Just make sure to do this on both sides of the yoyo so that both pads get broken in evenly.
Always Have Fresh Pads Handy
You never know when your pads may wear out. That's why it's important to always have a fresh set of yoyo pads. At modernyoyos.com, we only sell pads in bulk so that you'll never run out.
Click here to buy quality yoyo response pads now!
When you're away from home, we recommend Hardware Pods. These little tin containers fit perfectly in ANY yoyo case so that you'll always have a fresh set of pads wherever you go. You can get your Hardware Pod here.
Conclusion: Regularly checking and replacing your yoyo pads as needed helps maintain your yoyo’s performance and prolong its lifespan. By following these guidelines, you can ensure your yoyo always performs at its best.
Click here to buy quality yoyo response pads now!